EDITED:
February 21, February 22, February 24, March 3, March 15
MARCH 19
Today I filled containers and planted the seeds we had.
MARCH 19
Today I filled containers and planted the seeds we had.
This blog will be updated just like I am doing in my eggplant blog.
http://organicinstlouis.blogspot.com/2013/02/eggplant.html

This blog will share how we handle the transplanting of plants until they are ready to go into the garden. The ones in this photo are Waltham 29. As you can see they are too tall. This means they also have well developed root systems that match the length of the greenery.
 These are eggplant seedlings in the picture on the right, which shows how I soak them to remove them from the potting mix. In the above photo you will see Activia cups. We love to use free stuff in our garden. It keeps it out of the land fills. Sometimes, as in this instance, we find an item which serves our purpose better than the store bought ones. The Activia cup is the ideal size to move the seedlings into for their first home. We cut the rim off for convenience. The rim takes up room in the tray under the lights. We use those gray handle Fiskar's squeeze scissors to cut it off. Leave the advertising paper on the plastic. It adds strength to the container and gives a great surface for applying the lable you make. You need to poke holes in the bottom for drainage. Use a sharp implement. I used a fondue fork. There is a raised section on the bottom of the pot. you need to put your holes in this. If you put them in the section the pot sits on the tray then it won't drain properly. There are lots of commercially designed pots but we have found they are usually too big and require too much dirt.

This blog will share how we handle the transplanting of plants until they are ready to go into the garden. The ones in this photo are Waltham 29. As you can see they are too tall. This means they also have well developed root systems that match the length of the greenery.
I will have to use a very delicate touch when I move them. They are very crisp and will snap easily. The other obstacle is the entangled roots. I will put the dirt ball in a shallow dish half filled with warm water. After it has set for a few minutes the roots will slide right out of the potting mix. These plants in the tray are exactly 2 weeks old (14 days after the seed was planted).
 These are eggplant seedlings in the picture on the right, which shows how I soak them to remove them from the potting mix. In the above photo you will see Activia cups. We love to use free stuff in our garden. It keeps it out of the land fills. Sometimes, as in this instance, we find an item which serves our purpose better than the store bought ones. The Activia cup is the ideal size to move the seedlings into for their first home. We cut the rim off for convenience. The rim takes up room in the tray under the lights. We use those gray handle Fiskar's squeeze scissors to cut it off. Leave the advertising paper on the plastic. It adds strength to the container and gives a great surface for applying the lable you make. You need to poke holes in the bottom for drainage. Use a sharp implement. I used a fondue fork. There is a raised section on the bottom of the pot. you need to put your holes in this. If you put them in the section the pot sits on the tray then it won't drain properly. There are lots of commercially designed pots but we have found they are usually too big and require too much dirt.
Speaking of dirt.
We use the Activia cups because they are deep and narrow. They do not require a large amount of our soil mix. What is our soil mix. We mix one part soil with one part peat moss, with 1/2 part sand, 1/2 part of our dried manure from goats/sheep/cow and one part rice hulls. When this is well mixed we add a quart of Epsom salts and a quart of bone meal to a large wheel barrow of the mix. This is then stored to use for potting.
We take equal amounts of this mixture and our soil less mix and mix them together. This is what we use for the first transplanting.
ALERT: WHEN YOU REMOVE THE RING ON THE ACTIVIA CUP PLEASE CLIP ONE SIDE SO IT IS BROKEN. PLASTIC RINGS, IN LAND FILLS, STRANGLE WILDLIFE W. (DON'T FORGET THE ONES ON TOP OF YOUR MILK CARTONS.) THANK YOU FOR PROTECTING THOSE WHO CAN'T PROTECT THEMSELVES.
Even though some of the seed is very old I did not take the time to proof it.
http://organicinstlouis.blogspot.com/2013/02/proofing-seeds.html
I just planted more of each variety. I hope I am not disappointed in the number of plants that grow. I planted 32 seeds of each variety in 16 holes in the containers.
http://organicinstlouis.blogspot.com/2013/02/proofing-seeds.html
I just planted more of each variety. I hope I am not disappointed in the number of plants that grow. I planted 32 seeds of each variety in 16 holes in the containers.
Date Date Date Date Date
Feb 21 Feb 22 Feb 24 Mar 3 Mar 15
DATE
HY CORONADO CROWN
GURNEY'S 2007 2-16
HY PACKMAN
GURNEY'S 2007 2-17
GREEN GOLIATH
SHUMWAY 2007 2-17 1/32 1/32
HY PREMIUM CROP
HENRY FIELDS 2009 2-17 11/32 18/32 24/32
HYBRID ARCADIA
HENRY FIELDS 2010 2-17 12/32 17/32 21/32 26/32 28/32
WALTHAM 29 OP
BAKER CREEK 2012 2-17 31/32 31/32 31/32
We decided in 2012 we were going to try a non hybrid to see what the production rates of it were compared to the Varieties we were growing for the last 5 years.
FEBRUARY 21: This was a total surprise. It's only been 5 days and from the looks of the 1 inch high plants they grew yesterday during the day. I checked on the 20 at 6 AM and there was no sign of growth. This morning at 6 AM I had inch high plants. They are under a small goose neck light to give them a little warmth and lots of light till I can take them down to the barn to the grow lights.
FEBRUARY 22: It look likes things are starting to sprout. I was pleased to see another tray. BTW.. I found a better wrapping for the seed trays when they are in the propagation chamber (other than plastic wrap). There is a zip lock bag which has a box bottom in it. It allows for the height of the tray I am using. A gallon size will accommodate three of the trays (recycled plastic trays from chocolate covered graham crackers). They are the bags with the zipper slides.
An important note. Watch your trays for molds. If that starts to happen uncover your tray...then monitor it closely for dehydration.
When your trays start to sprout remove them from the chamber and put them under light immediately. Use a strong light source. If you don't have a set up of grow lights you can use incandescent lamps. Right now my plants are under two old fashioned goose neck lamps with the bulbs positioned about 4 inches above the plants. Monitor your plants to make sure your lights aren't too hot. Monitor for moisture too. Keep the surface nice and on the moist side of damp, you probably have some seeds which haven't sprouted.
Be sure to check your chamber twice a day. If they start sprouting they will get leggy, looking for light within 24 hours.
Finally we have something to get excited about. Our Eggplant sprouted last week and some of our cabbage sprouted yesterday.
February 24: The Waltham which has almost 100 % germination, is not because 31/32 grew but because I hadn't realized I had dropped a couple of extra seeds when I was planting (I.E. one hole has 3 plants in it...LOL) and some holes have only germinated 1 plant. The seeds which germinated 3 days ago have really nice first leaves.
March 3: Moving day. The Waltham 29 I moved yesterday. The rest will be moved today. They will have a new blog too. Will post the link when I write it later today.

http://www.vegetablegardener.com/item/4689/seed-starting-in-speedling-trays
 This is the Arcadia Broccoli on March 15 ready to be transplanted to a larger home. The roots are beginning to peek out the drainage hole. It has 14 days since the first potting. The following pictures a plant plug when I removed it from the tray. The second picture is the plug and I have disturbed the roots gently with the point of a Chop stick before I put it in its new home.
Notice the well developed roots in just 2 weeks. The cells are 2 inches wide by just under 2 inches deep.
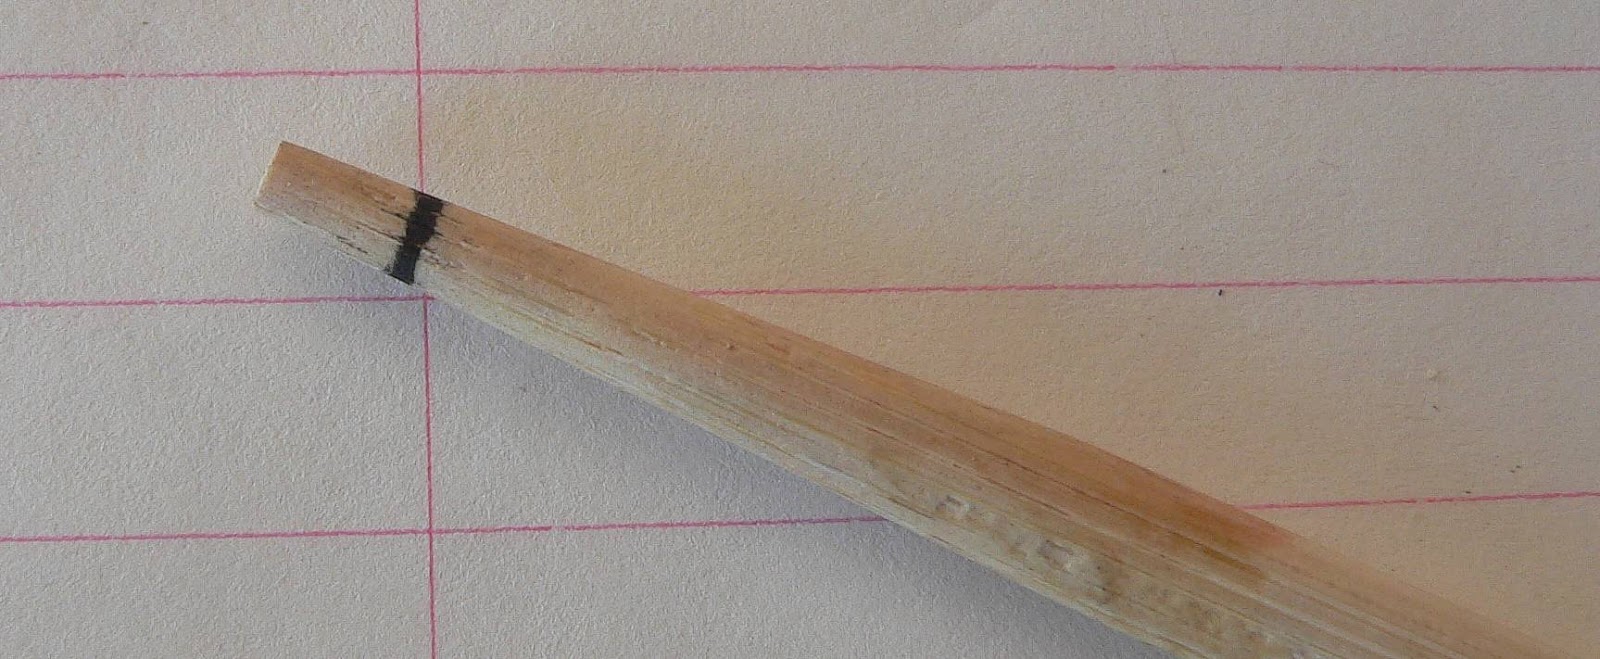
 I am disturbing the roots gently with a chop stick. This helps them to not be root bound when they are put in their new homes. When I know I am going to transplant plants I water them heavily the day before. That way they have a chance to absorb a drink before they are going to have damage done to them by the transplanting. (No matter how careful you are you inflict some damage.) Doing it 24 hours in advance insures you won't have a sopping mess to try to transplant.
 This is their new home. It is another potting system we enjoy using. The "pots" are mostly biodegradable. I really enjoy using these. The baskets which hold the square containers unhinges on the corners and stores flat. The pots are sent to you flat. No one said but I bet the designer had planted in cardboard milk cartons before. I have used them and achieve the same results. (Getting all those smaller milk cartons is difficult). These are the product and design of Hummerts in St. Louis. The following is the link to the page describing them.
 This is the Arcadia Broccoli snuggled into their new accommodations. There is plenty of room in the six inch deep pots for their roots to grow with out being root bound. (The pots are only 2x2 so they are giving maximum root space without using a lot of soil. This is one reason why I like to plant in the quart cardboard milk cartons. You have room for the roots to stretch out. Another great planting re-cycle is the tall drink cups you get at the gas stations. (Just remember you need to drill holes in the bottom.)
  In our garden we try to re-use and re-cycle as much as we can. This 15 ounce detergent bottle contains fish emulsion. It is the ideal size and the nozzle is perfect for watering the small cells so it doesn't drown or wash out the tiny plants. We also re-use the Hershey syrup bottles with plain water in them. Tomorrow I will post the rest about transplanting the broccoli. It got late and I wasn't able to finish taking pictures... Today is March 16, We transplanted the Waltham 29 into their second homes. They had become so big I had to use larger containers. I could have gotten away with the ones you see above but would have had to transplant again within 2 weeks. So I used the next size up. It's supposed to snow maybe 5 inches tonight. I was so looking forward to the ground finally drying out and warming up. The snow won't last though, we are going to get rain right after it. That could spell lots of ice.
MARCH 19: The Waltham Broccoli in the first picture moved to their new homes. For size comparison, the wooden box on the far right is a coke bottle carrier. This is only 16 days since they were potted up on March 3. 30 plants made the move. The weather here has been deplorable. If it isn't raining it is snowing. No matter what it does the thermometer is pegged on 30 degrees...My garden is a soggy mess that is frozen 4 inches under the muck. These homes should suffice till the ground becomes workable.
Did you notice the masking tape around the top of the pots.? I put it there to hold the plants upright so they wouldn't topple over (they are all taped together). I didn't want to use the large trays for them. Using the Styrofoam trays I am able to move the plants away from the light source when their leaves start to touch the lights.
 The picture on the left is our light set up for raising our plants.We recycled a bakers rack we found discarded behind a restaurant. The shelves are not adjustable so we raise and lower the plants with boards and other things we have in the barn.
It's a little early to discuss pest control for Brassicas but I thought it would give you time to think about how you are going to tackle them. Our means to combat the cabbage worms is to use "BT". We do so very carefully. "BT" is supposed to be environmentally friendly, but a warning. When using it you should wear a mask or make sure the wind isn't blowing. The conditions in your lungs are the same conditions this bacteria likes to grow.
It is not dangerous to eat the vegetables after they have been sprayed. It is effective on all caterpillars. You do not want to use it on flowers or vegetables which are eaten by beneficial insects which start their lives out as a caterpillar.
BT does have a draw back. If you have a rain or a heavy dew you will have to respray. The moisture washes the bacteria off the plant. The best time to spray is after the morning dew is evaporated.
The advantage of this spray is, you do not need to use it until you see the worms. So if you don't have them don't spray.
Bacillus thuringiensis
May you not have any ground hogs in your neighborhood...they adore Broccoli.
Break the circle of death,
Break all plastic circles.
For more blogs by
me, visit at:
A blog mostly about quilting,
but cooking, poetry, prose and a little
gardening,
New blog, tutorial on how to make 5 panel Boxer
Shorts.
New Blog about dolls.
with creating or
gardening.
There are blogs on the new born baby kittens
we found and mothered.
There are blogs on the new born baby kittens
we found and mothered.
It is a blog where I voice my opinions which will
always be environmentally friendly.
As always, any pictures or writings are my own.
Credit has been given to contributions not my own.
Please do not use without permission.
Credit has been given to contributions not my own.
Please do not use without permission.